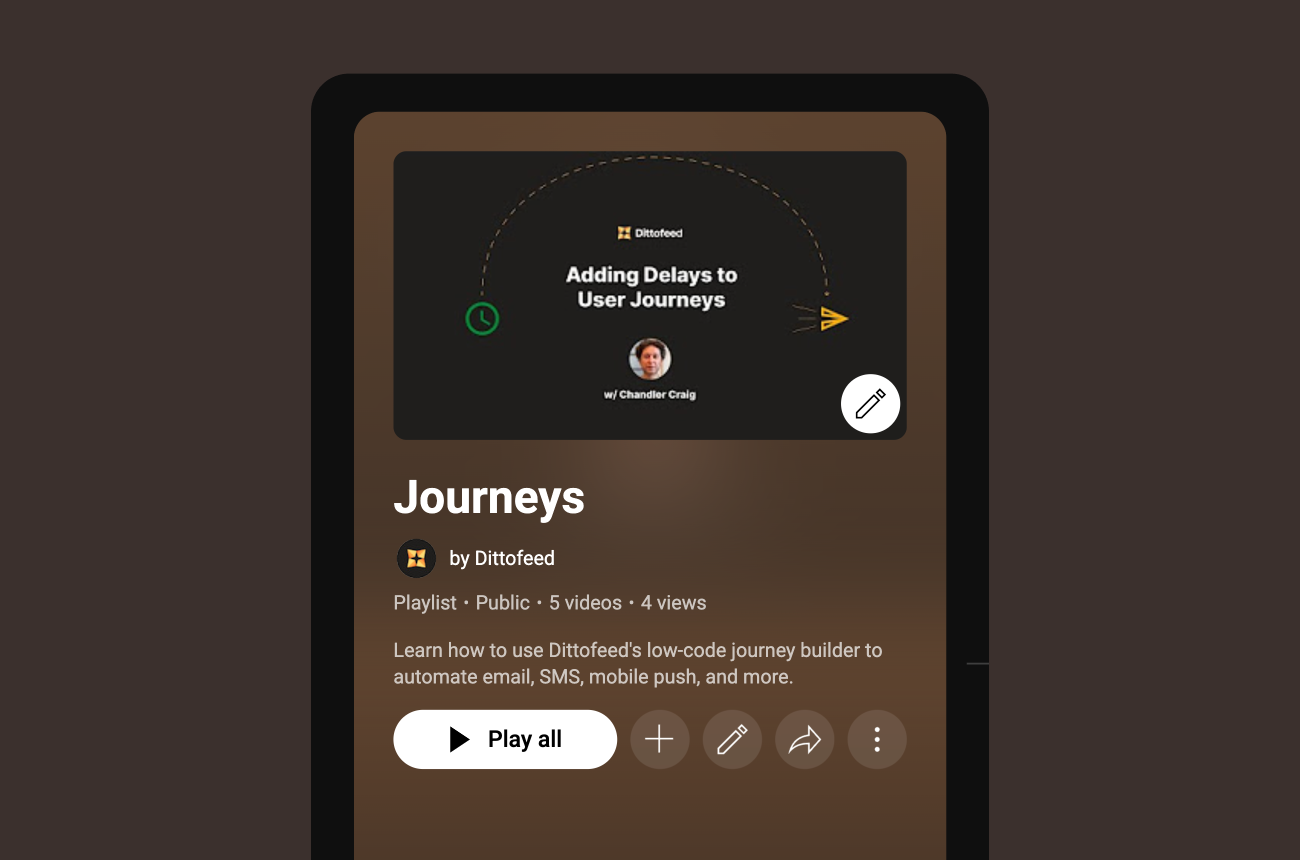
Automating User Messaging: Low-code Drag-and-Drop Journey Editor Tutorials

There are infinite ways to configure when and how your users receive automated emails, SMS, mobile push, and other kinds of messages and notifications with Dittofeed. The low-code drag-and-drop journey editor in the Dittofeed dashboard may look basic on the surface, but each of the five journey nodes (Entry, Delay, Segment Split, Message, and Wait For) has its own set of configuration controls with a breadth of functionality.
In this blog post, we'll cover each of the journey nodes and share video tutorials on how to use them in real-world contexts.
Entry
The Entry node determines what segments or events will qualify a user to enter the journey. It is the first node of every journey you'll make, and it contains configuration for selecting the entry criteria. It also allows you choose whether to create a segment-entry or event-entry journeys, where the use cases for each roughly correspond to marketing messaging and transactional messaging respectively. To learn more about the Entry node, check out the documentation and watch the video below.
Delay
The Delay node allows you to add various kinds of delays to journeys in order to send messages to your users/customers at exactly the right time. You can configure the delay node as a hardcoded, localized, or user property delay, each of which has it's own recommended use case. To learn more about the Delay node and the three types of delays, check out the documentation and watch the video below.
Segment Split
The Segment Split node let's you create branching logic which conditions on whether a user is in a segment or not. By branching journeys in this way, you can send messages to your users/customers based on what segments they do or don't belong to. To learn more about the Segment Split node, check out the documentation and watch the video below.
Message
The Message node allows you to add and test email, SMS, and various other kinds of messages/notifications such as Slack, WhatsApp, and more (via the webhook channel). To learn more about the Message node, check out the documentation and watch the video below.
Wait For
The Wait For node lets you add segmentation entry timeouts to your messaging journeys in order to branch journeys based on whether a user has satisfied a segment's conditions within some period of time or not. To learn more about the Wait For node, check out the documentation and watch the video below.

